
Following those steps to create your own Google App.
1) Navigate to https://console.developers.google.com/.
2) First create a new project by clicking the “Create Project” button in the dashboard.
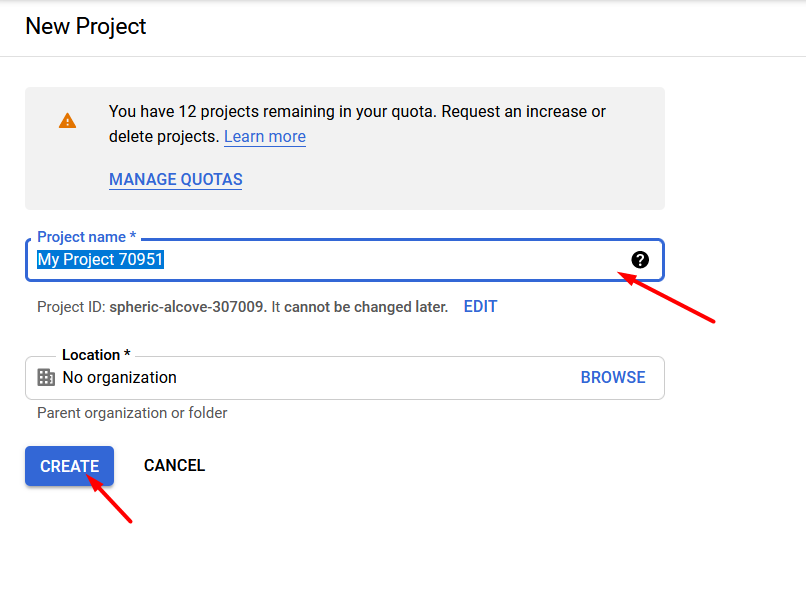
 3) Give a name to your Project then click the “Create” button.
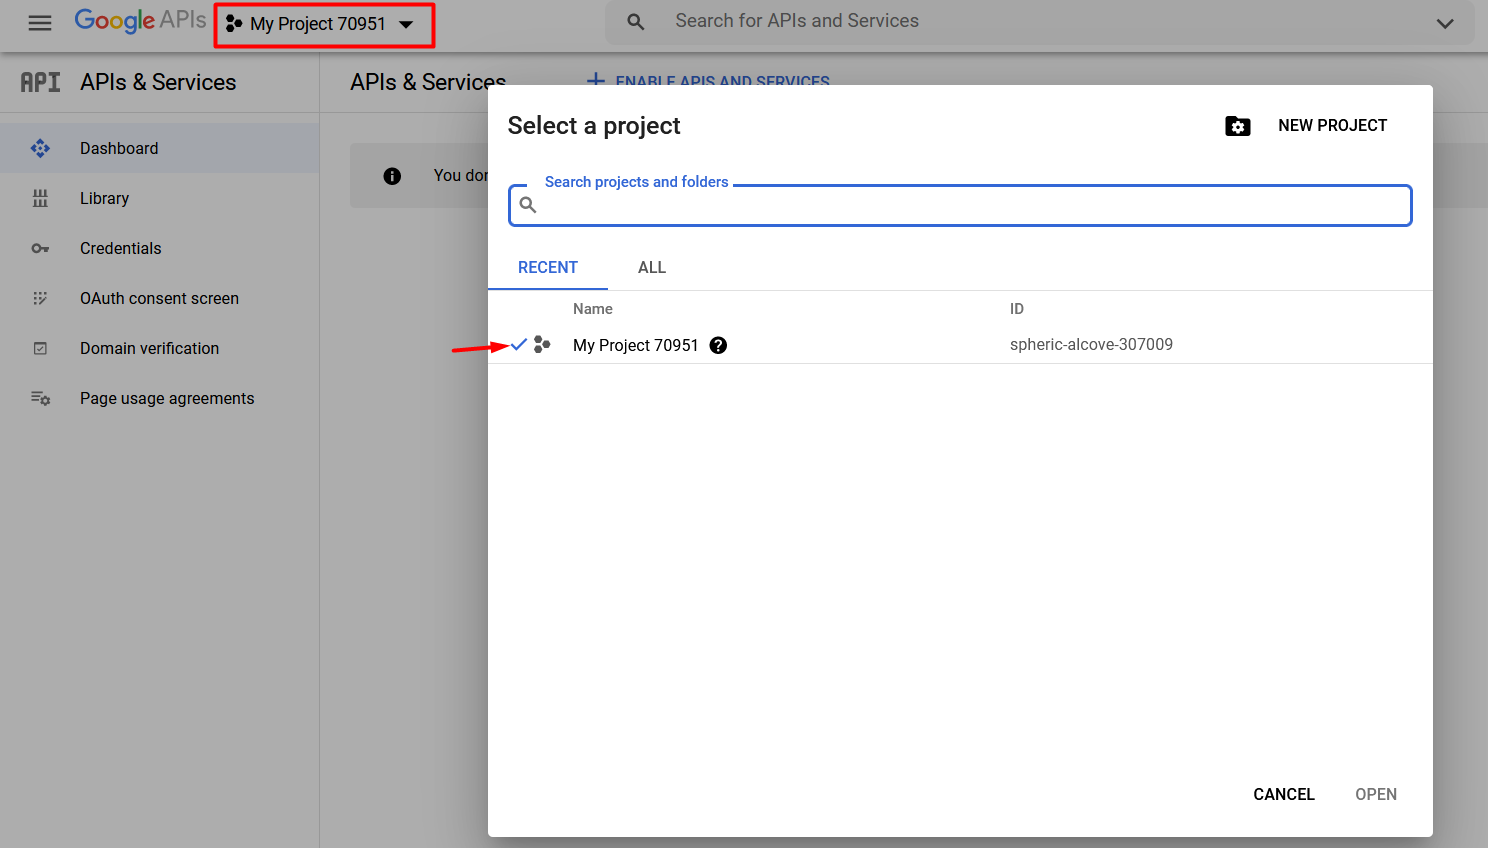
4) Select your Project. To choose between several projects just click on the name of the project and access the list of all your projects. Make sure you select the one that best suits your needs.
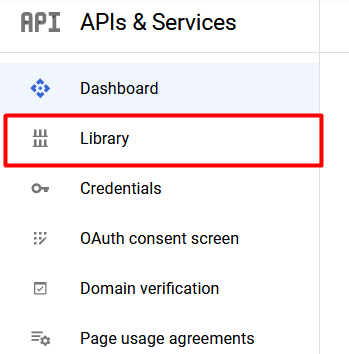
5) Select “Library” to enter in the API Library.
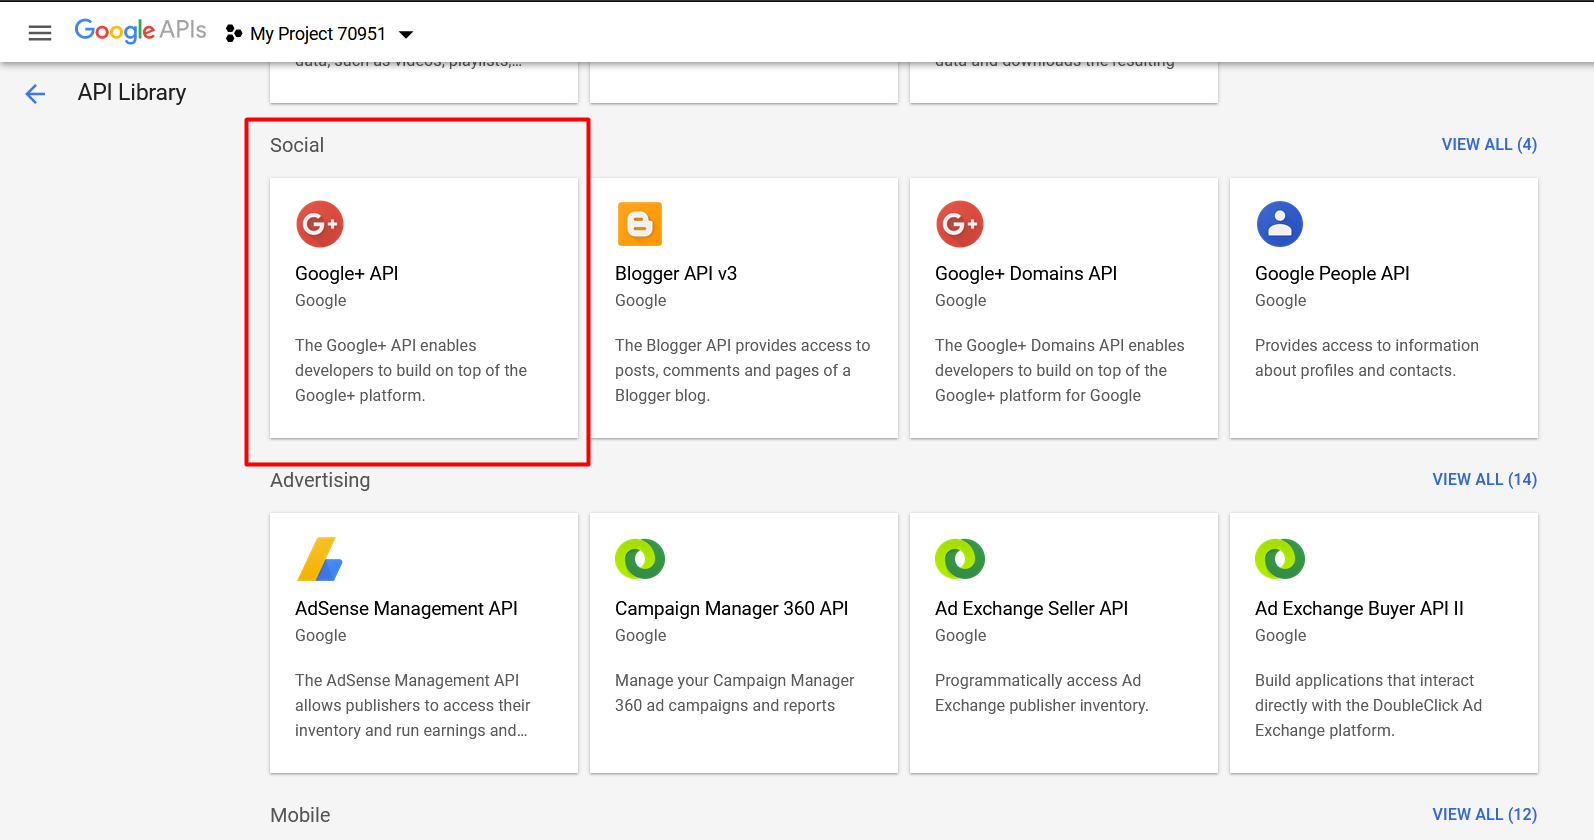
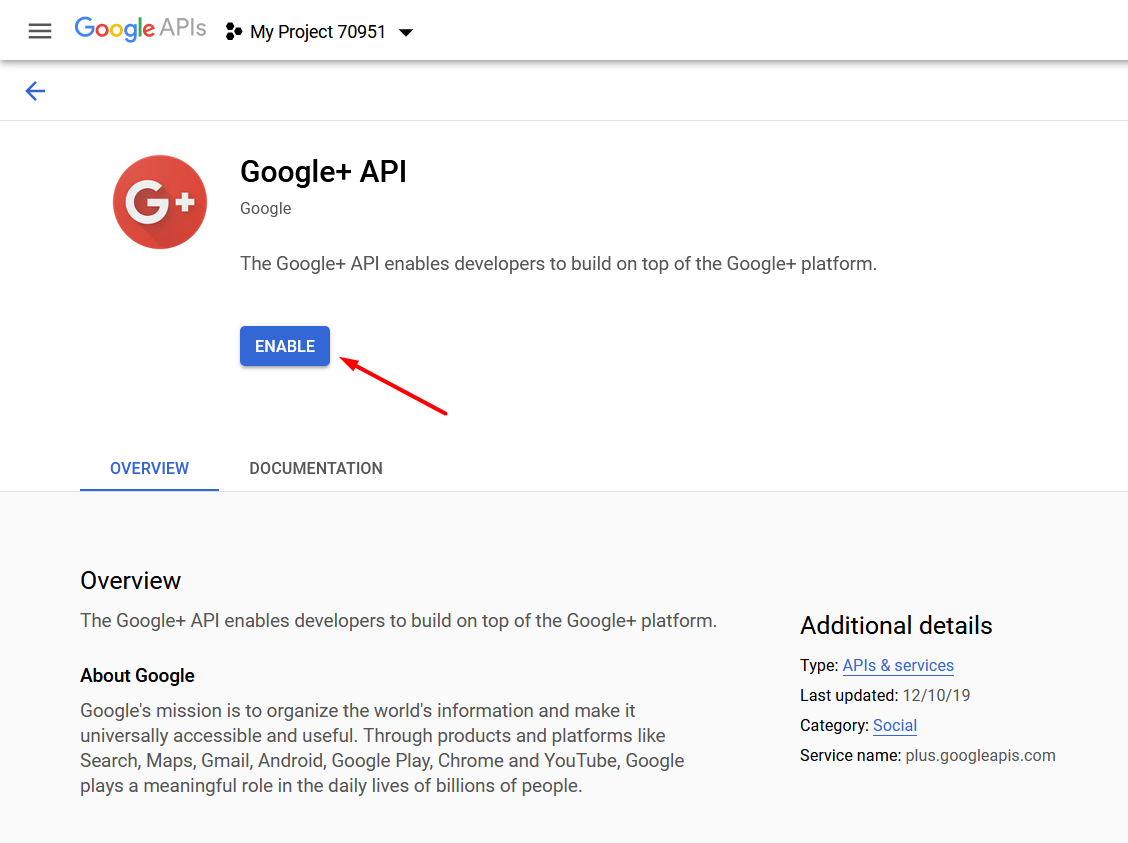
6) Scroll down until you find the Social section, then select the Google+ API box.
7) Enable the Google+ API, click the “Enable” button.
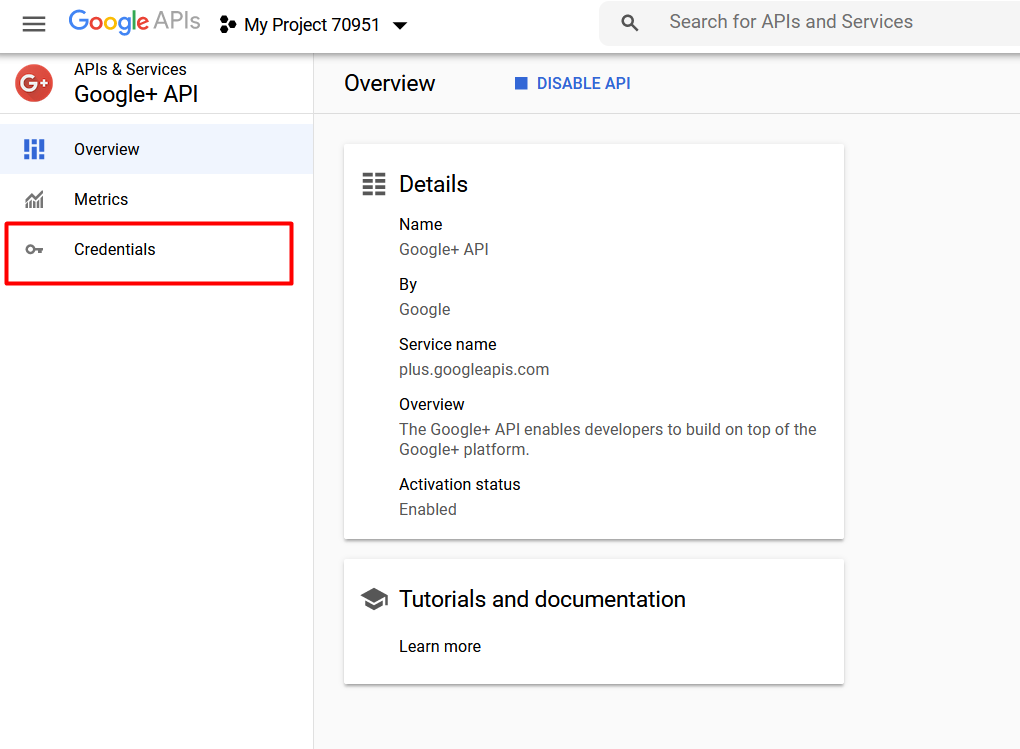
8) Click on “Credentials”.
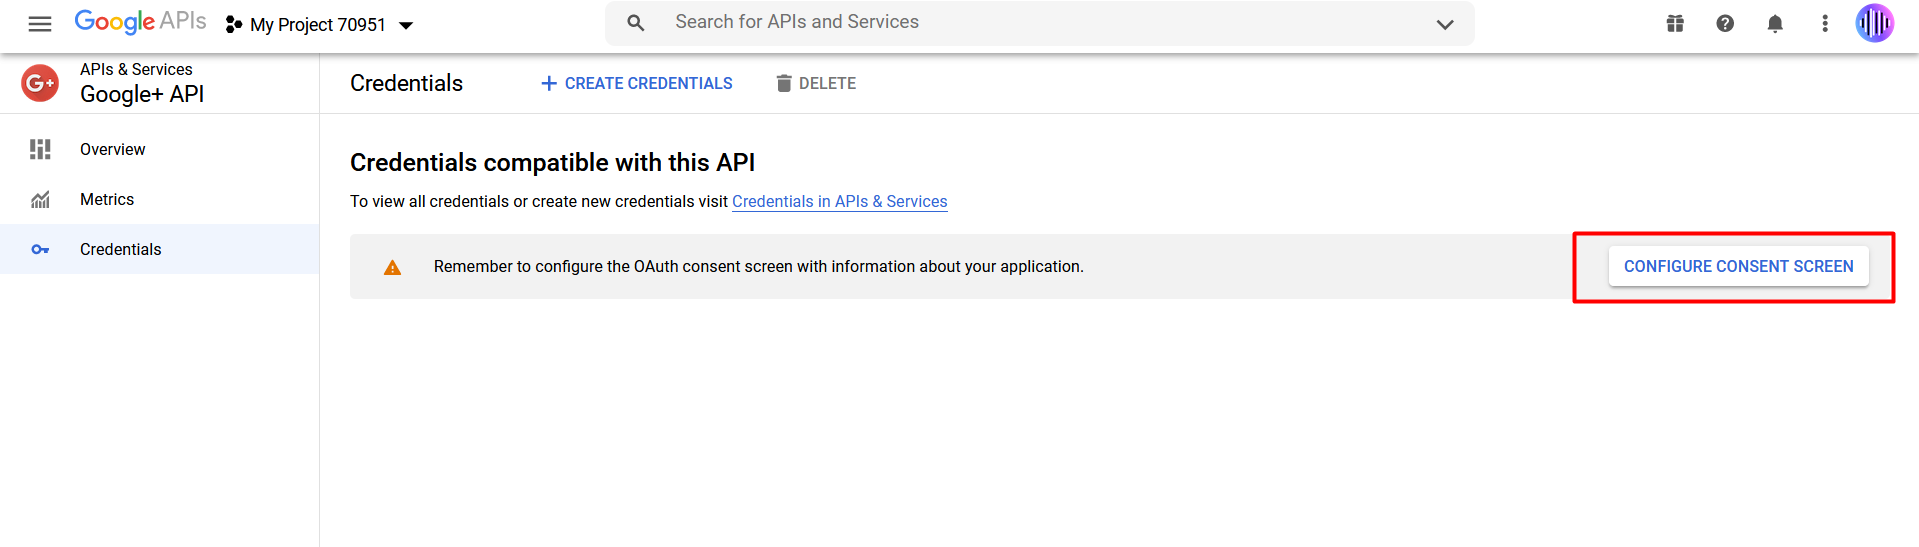
9) Configure the OAuth consent screen by clicking the button “Configure Consent Screen”.
10) Choose the User Type, in this case we select the “External” one. Then click on “Create”.

11) Configure the App Information, insert your App Name and your User Support Email.
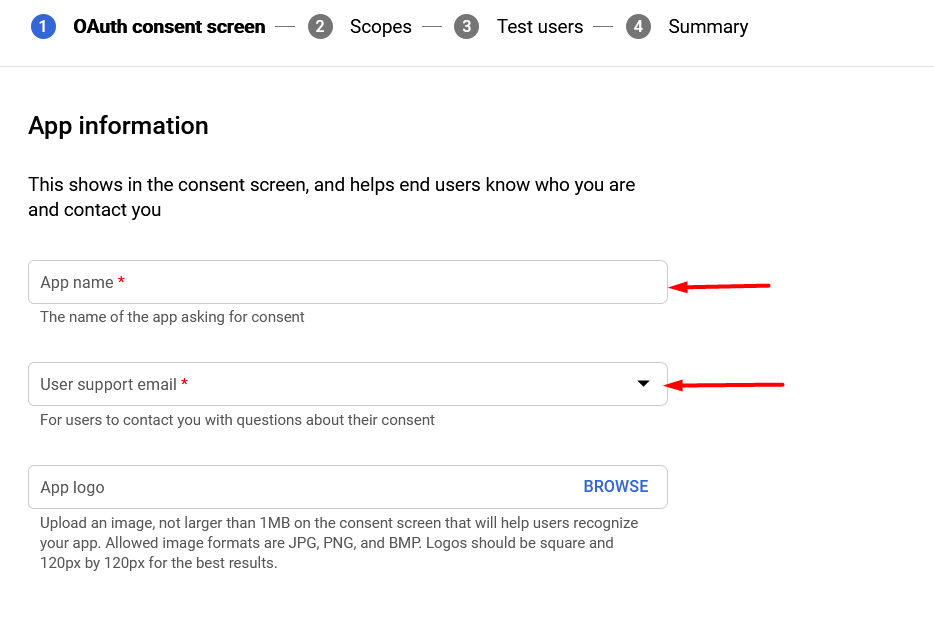
You can also fill in the App Domain fields, insert the App home page link, the App Privacy Policy link and also the App Term of Service link.
12) EXTREMELY IMPORTANT
In the Authorized domains enter your Custom Domain by clicking “+ Add Domain''.
The custom domain is necessarily needed, because ownership must be verified. (e.g., https://yourcustomdomain.ext/)
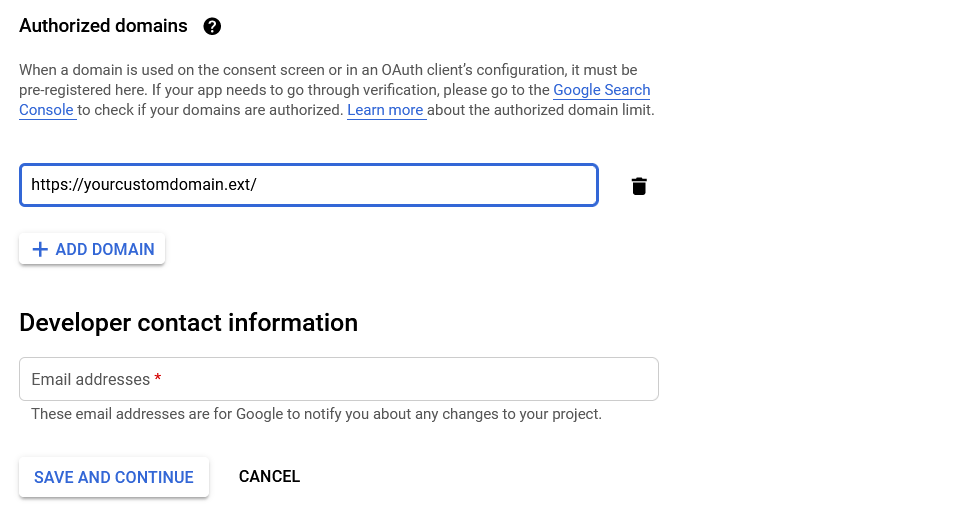
Insert the Developer email address then click on “Save and Continue”.
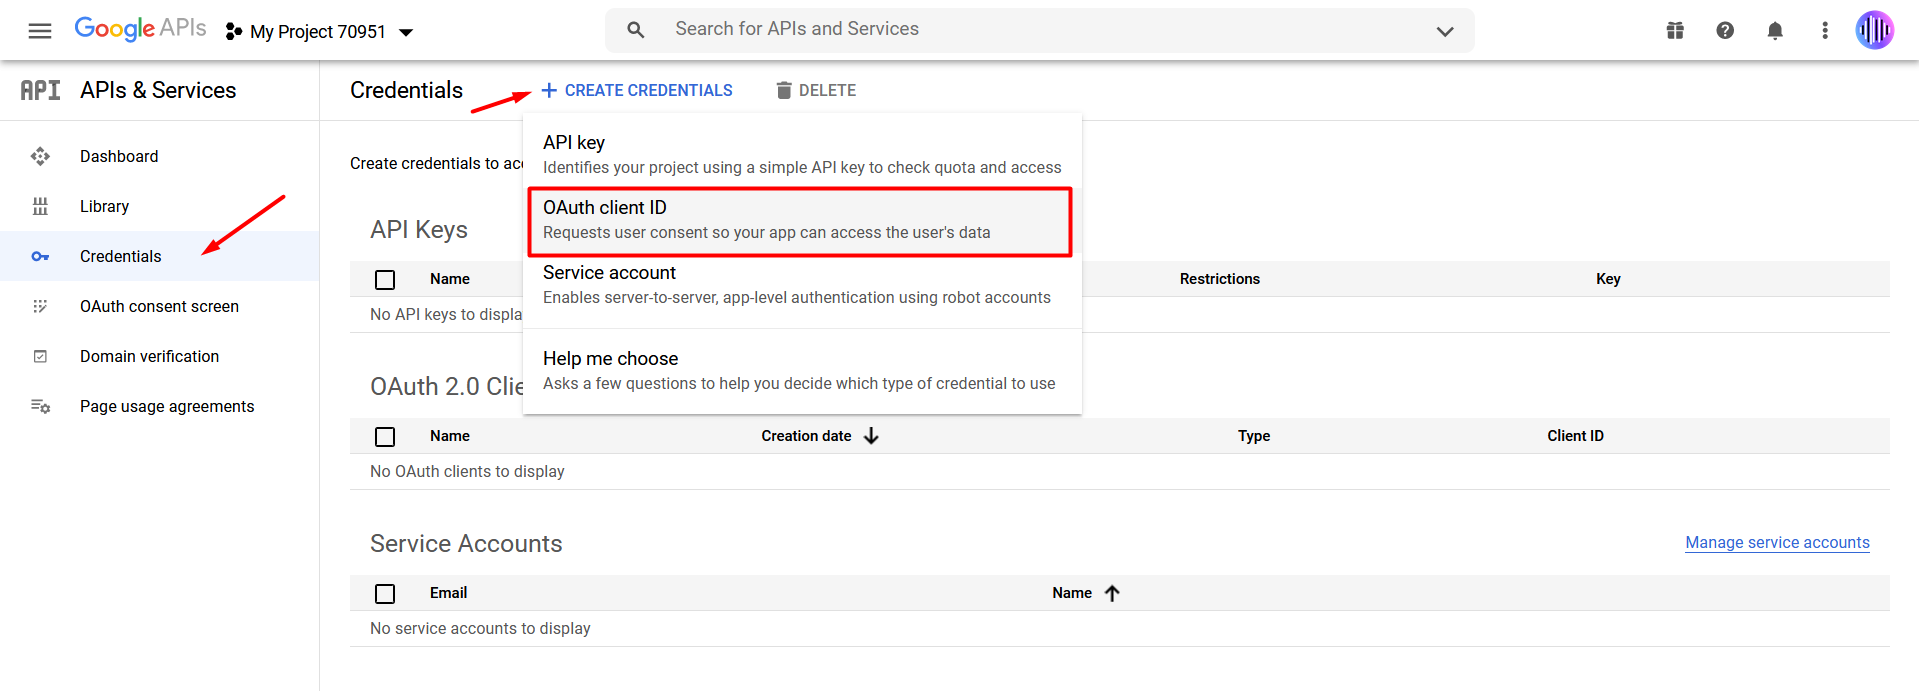
14) After that, click on “Credentials”, then click on “+ Create Credentials” and select “OAuth client ID”.
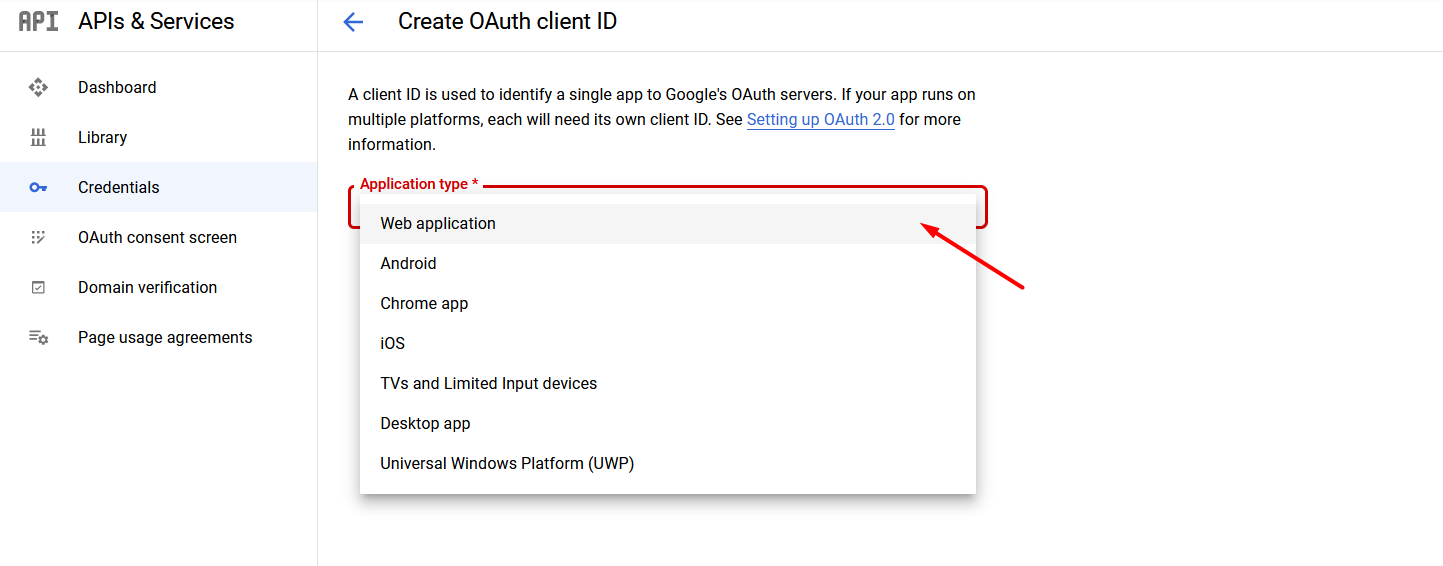
15) Select the Application Type, in this case select: “Web Application”.
16) Configure the URI for the Authorized Javascript Origin, insert your custom domain.
Then Configure the Redirect URI, in our case use: https://yourdomain.com/ha/
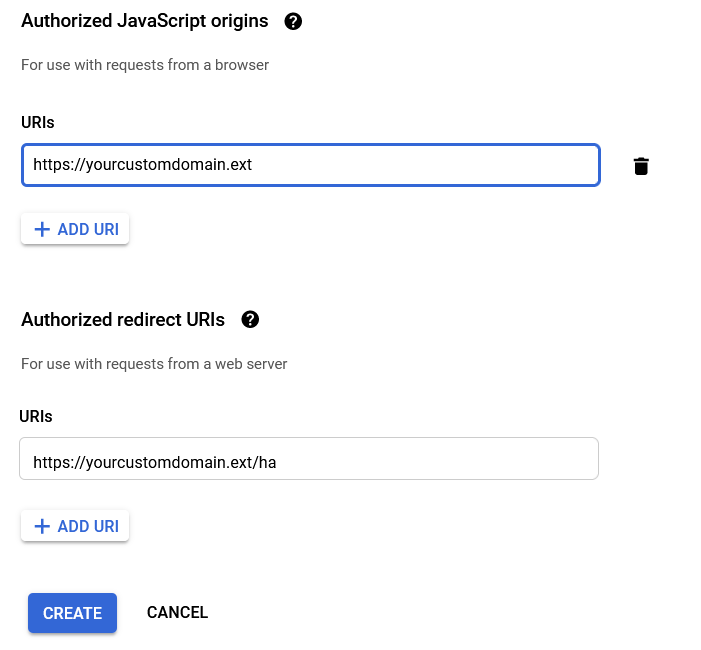
Click on Create.
17) At this point you will have correctly configured your OAuth client ID, take the keys and the ID you need and paste it into the JotUrl Social App configuration.
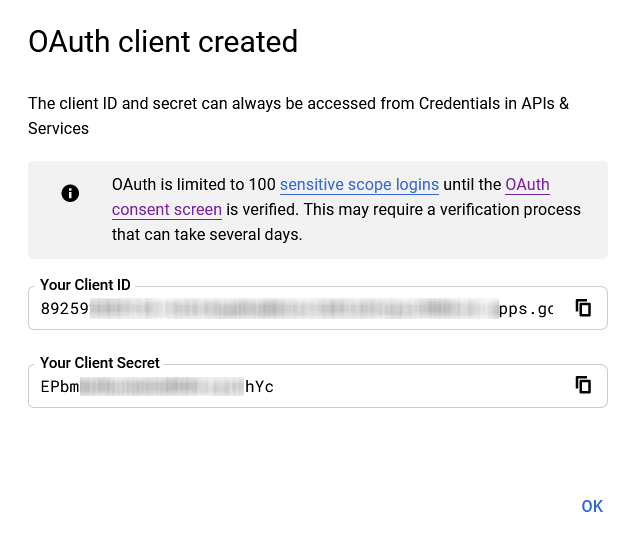
18) Copy you Client ID and your Client Secret in order to paste them inside JotUrl Social Apps, you can enter through this link: https://joturl.com/reserved/settings.html#settings-socialapps.
Alternatively, you can log into your dashboard, click on the account icon at the top right, click on Settings and then select Social Apps.
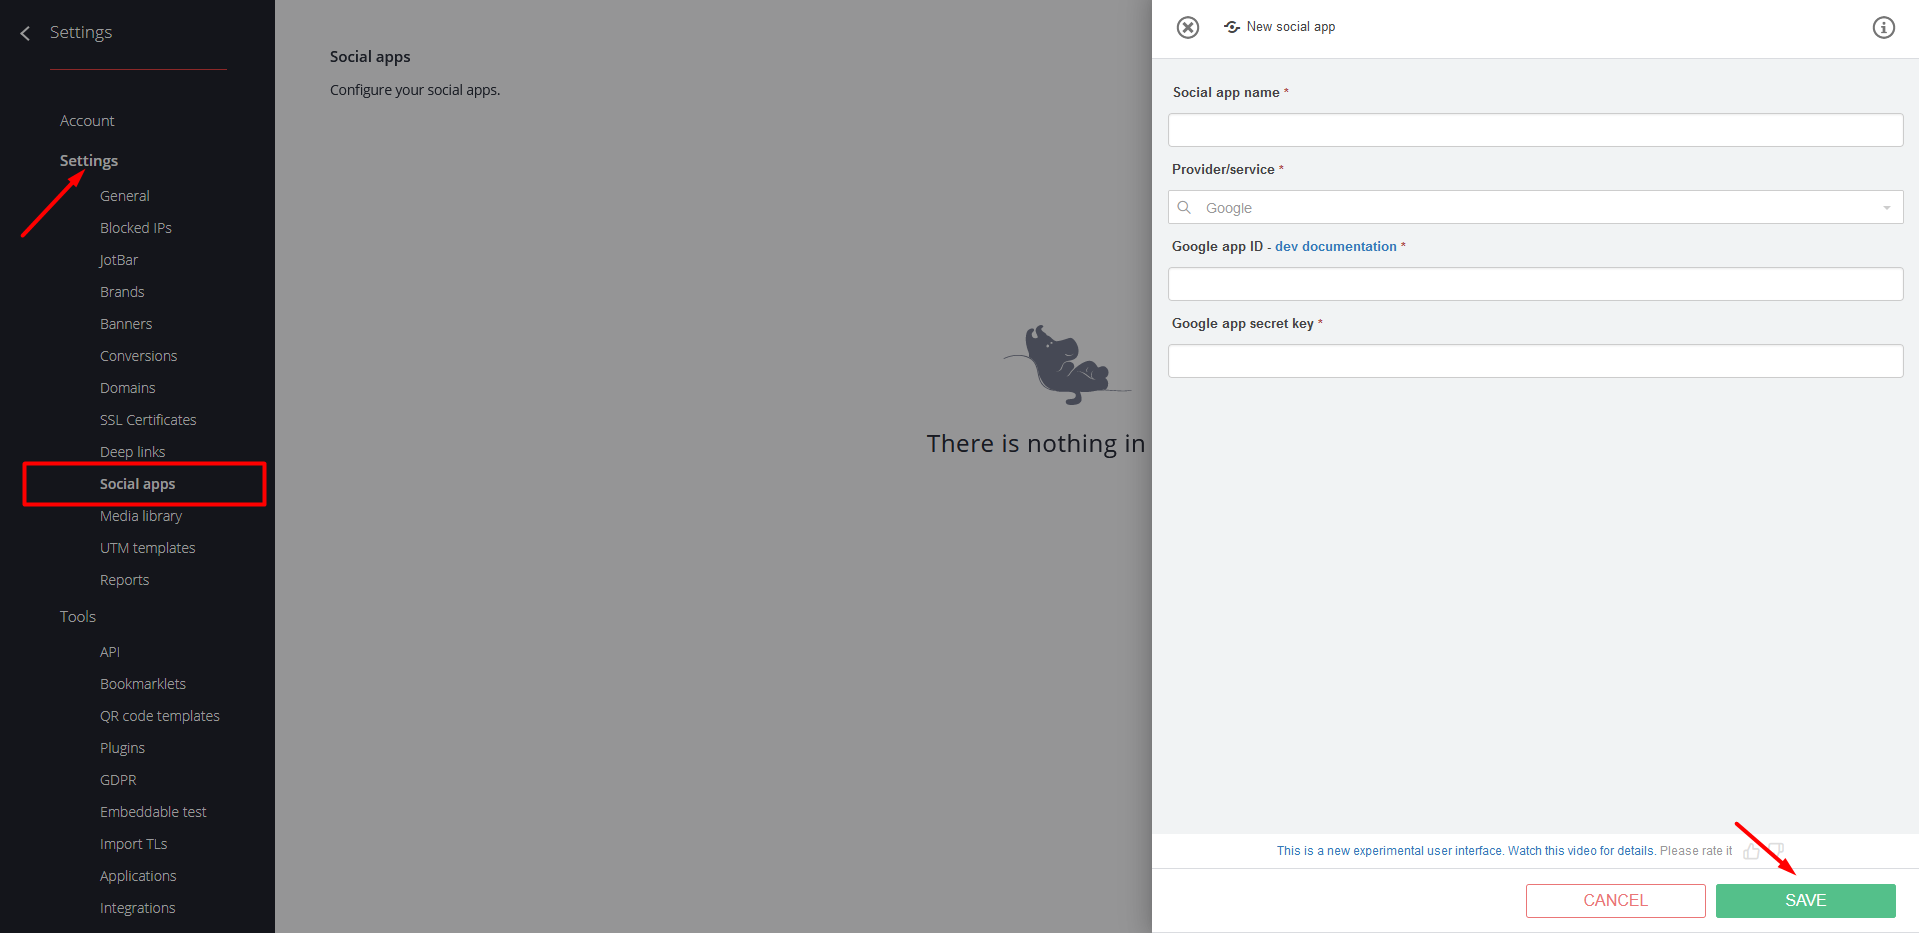
Fill in the fields and save your configuration clicking the green “Save” button.
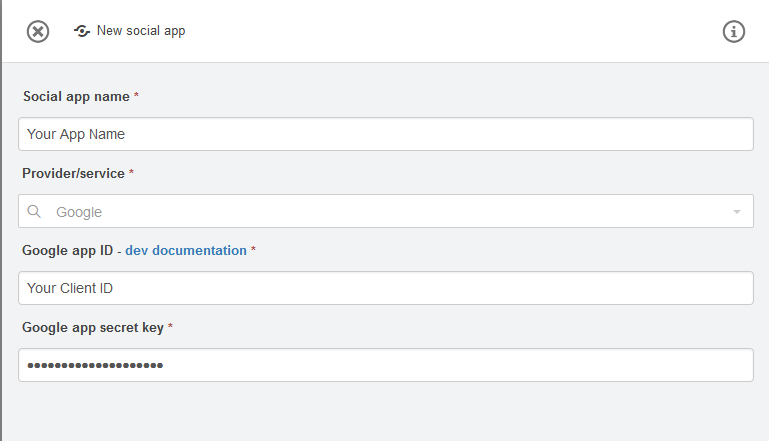
Your Social App is now ready to be used.
You can find out all the information on how insert your Social Apps within JotUrl CTAs at this link: https://joturl.zendesk.com/hc/en-us/articles/360020368800
Comments
0 comments
Please sign in to leave a comment.